
For this experiment, I gave Sol access to a hardware assessment workspace through OpenCode, command line tools, and a Binary Ninja MCP integration. The target was the PainStation, an ESP-12F-based IoT trivia game that shocks players for incorrect answers.
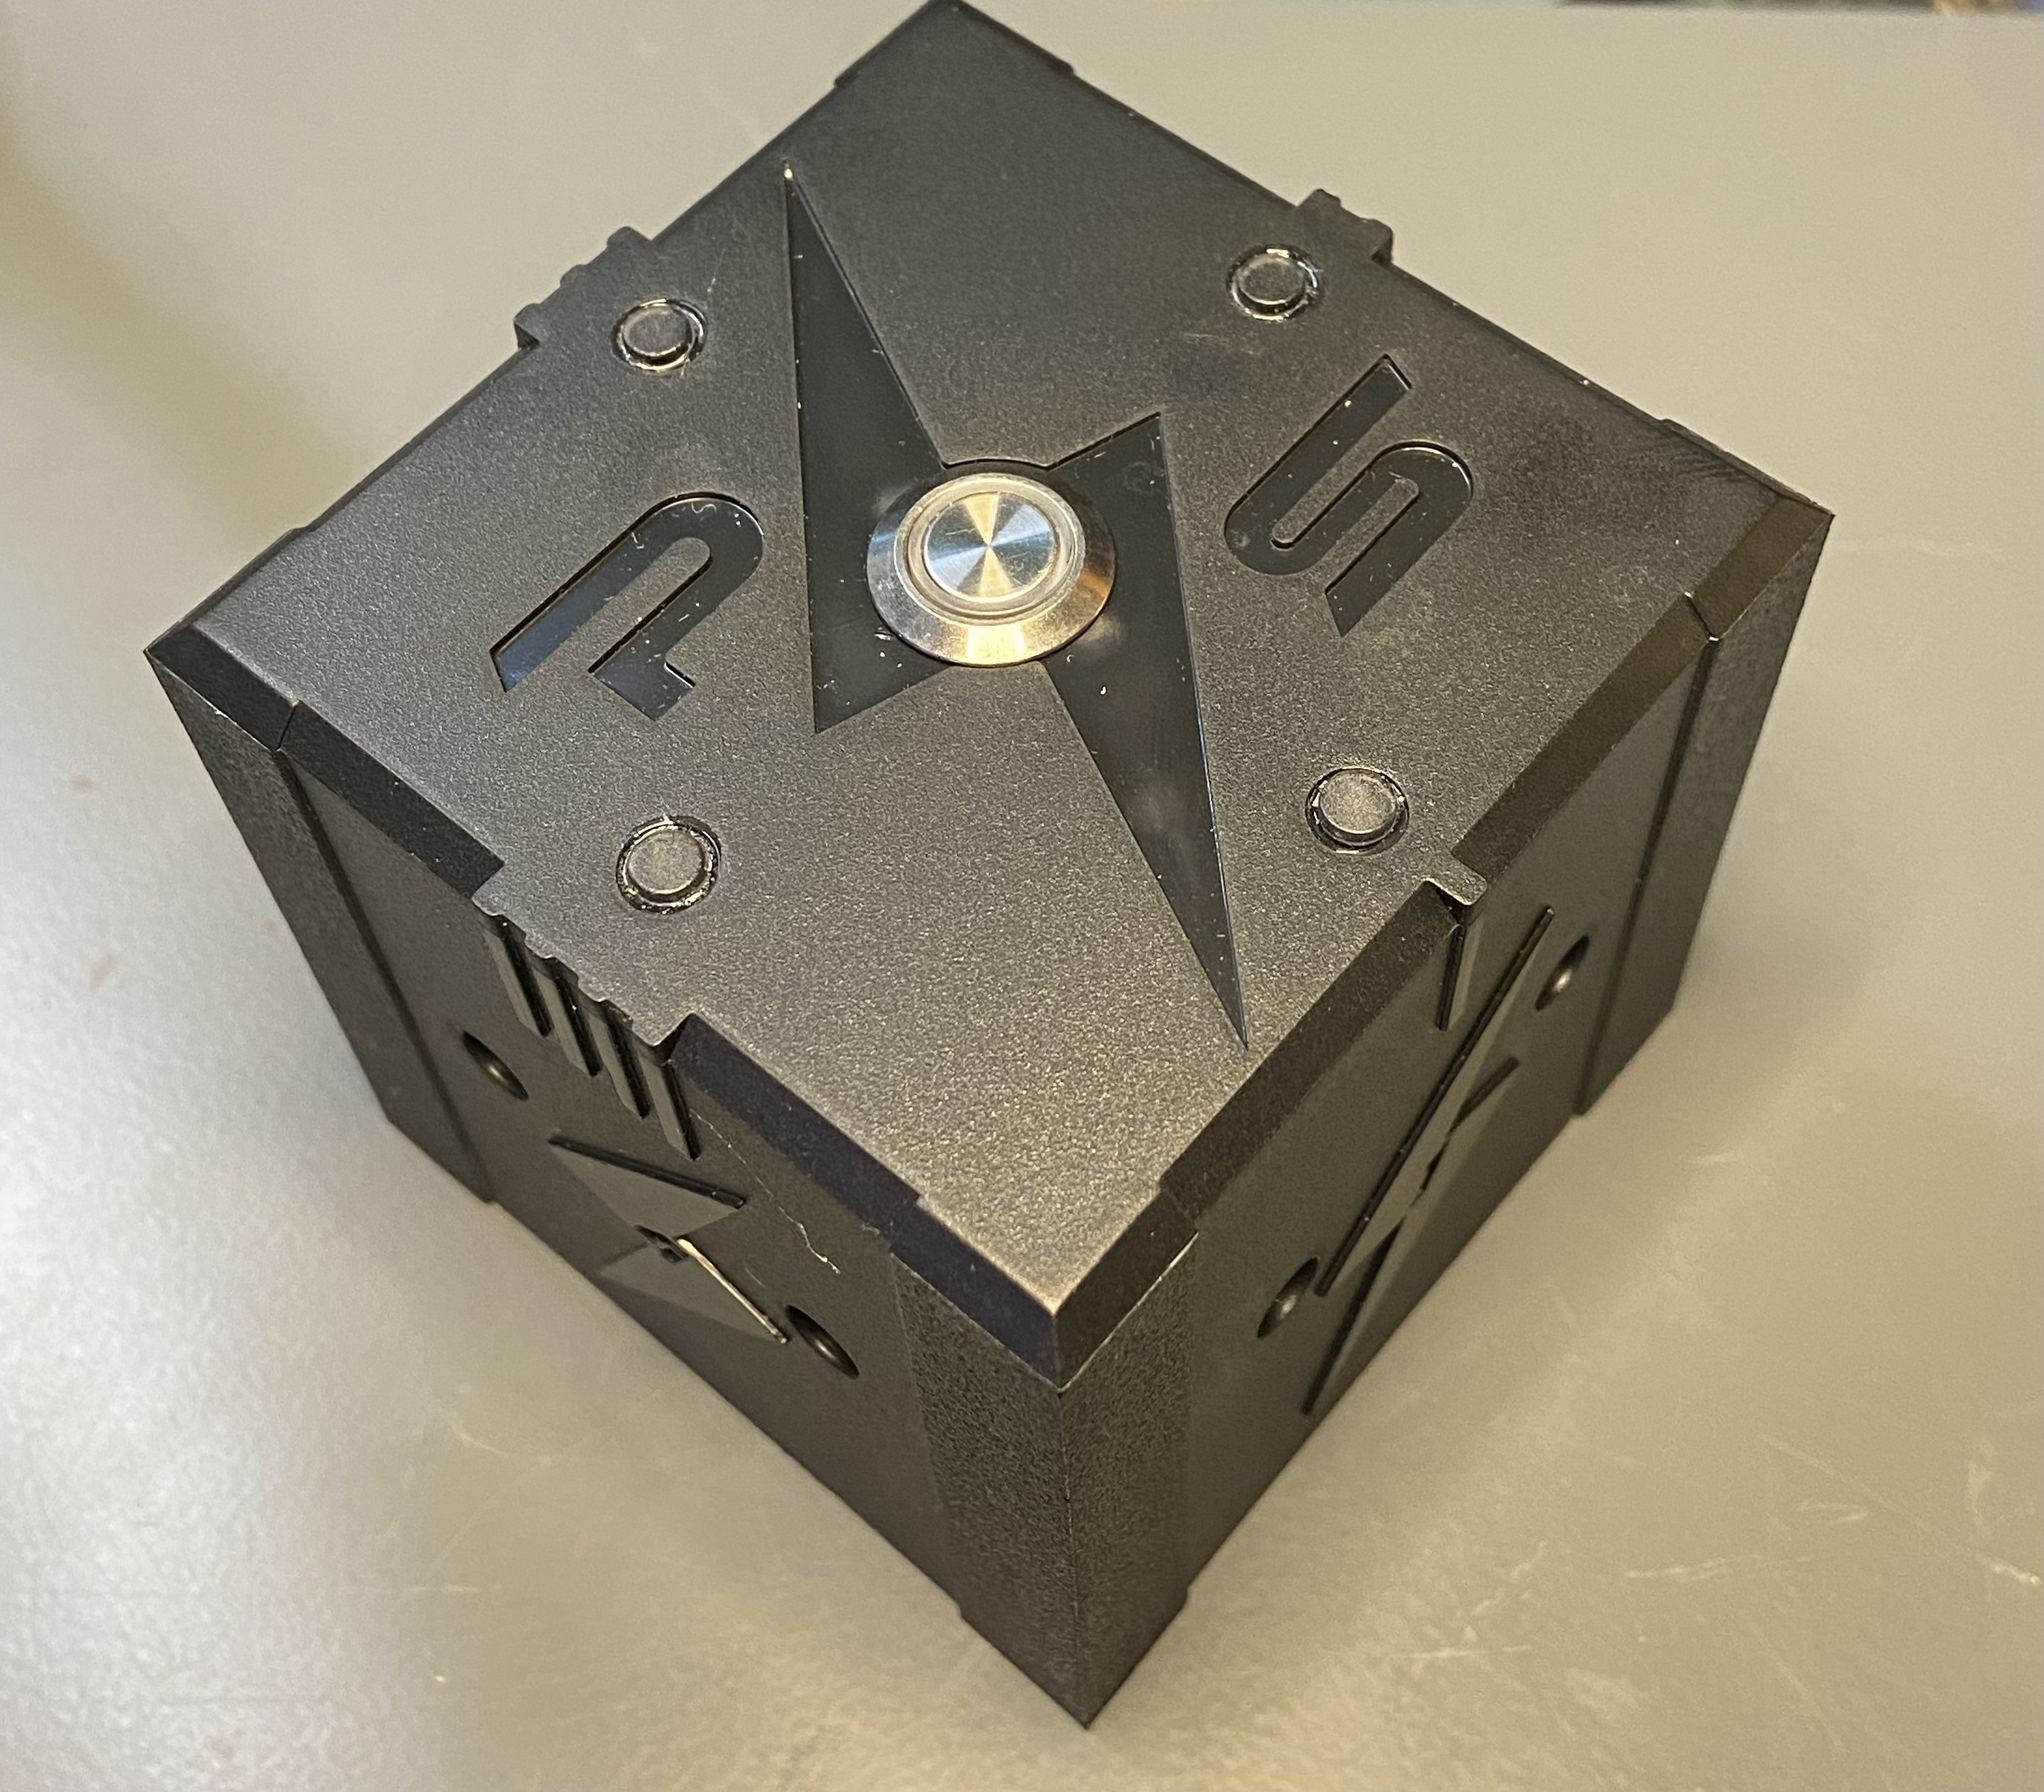
My goal was to start with an unconnected device, have Sol build an assessment plan, acquire the firmware without bricking the board, analyze it, and help validate the findings, all for less than $20.
Planning the assessment
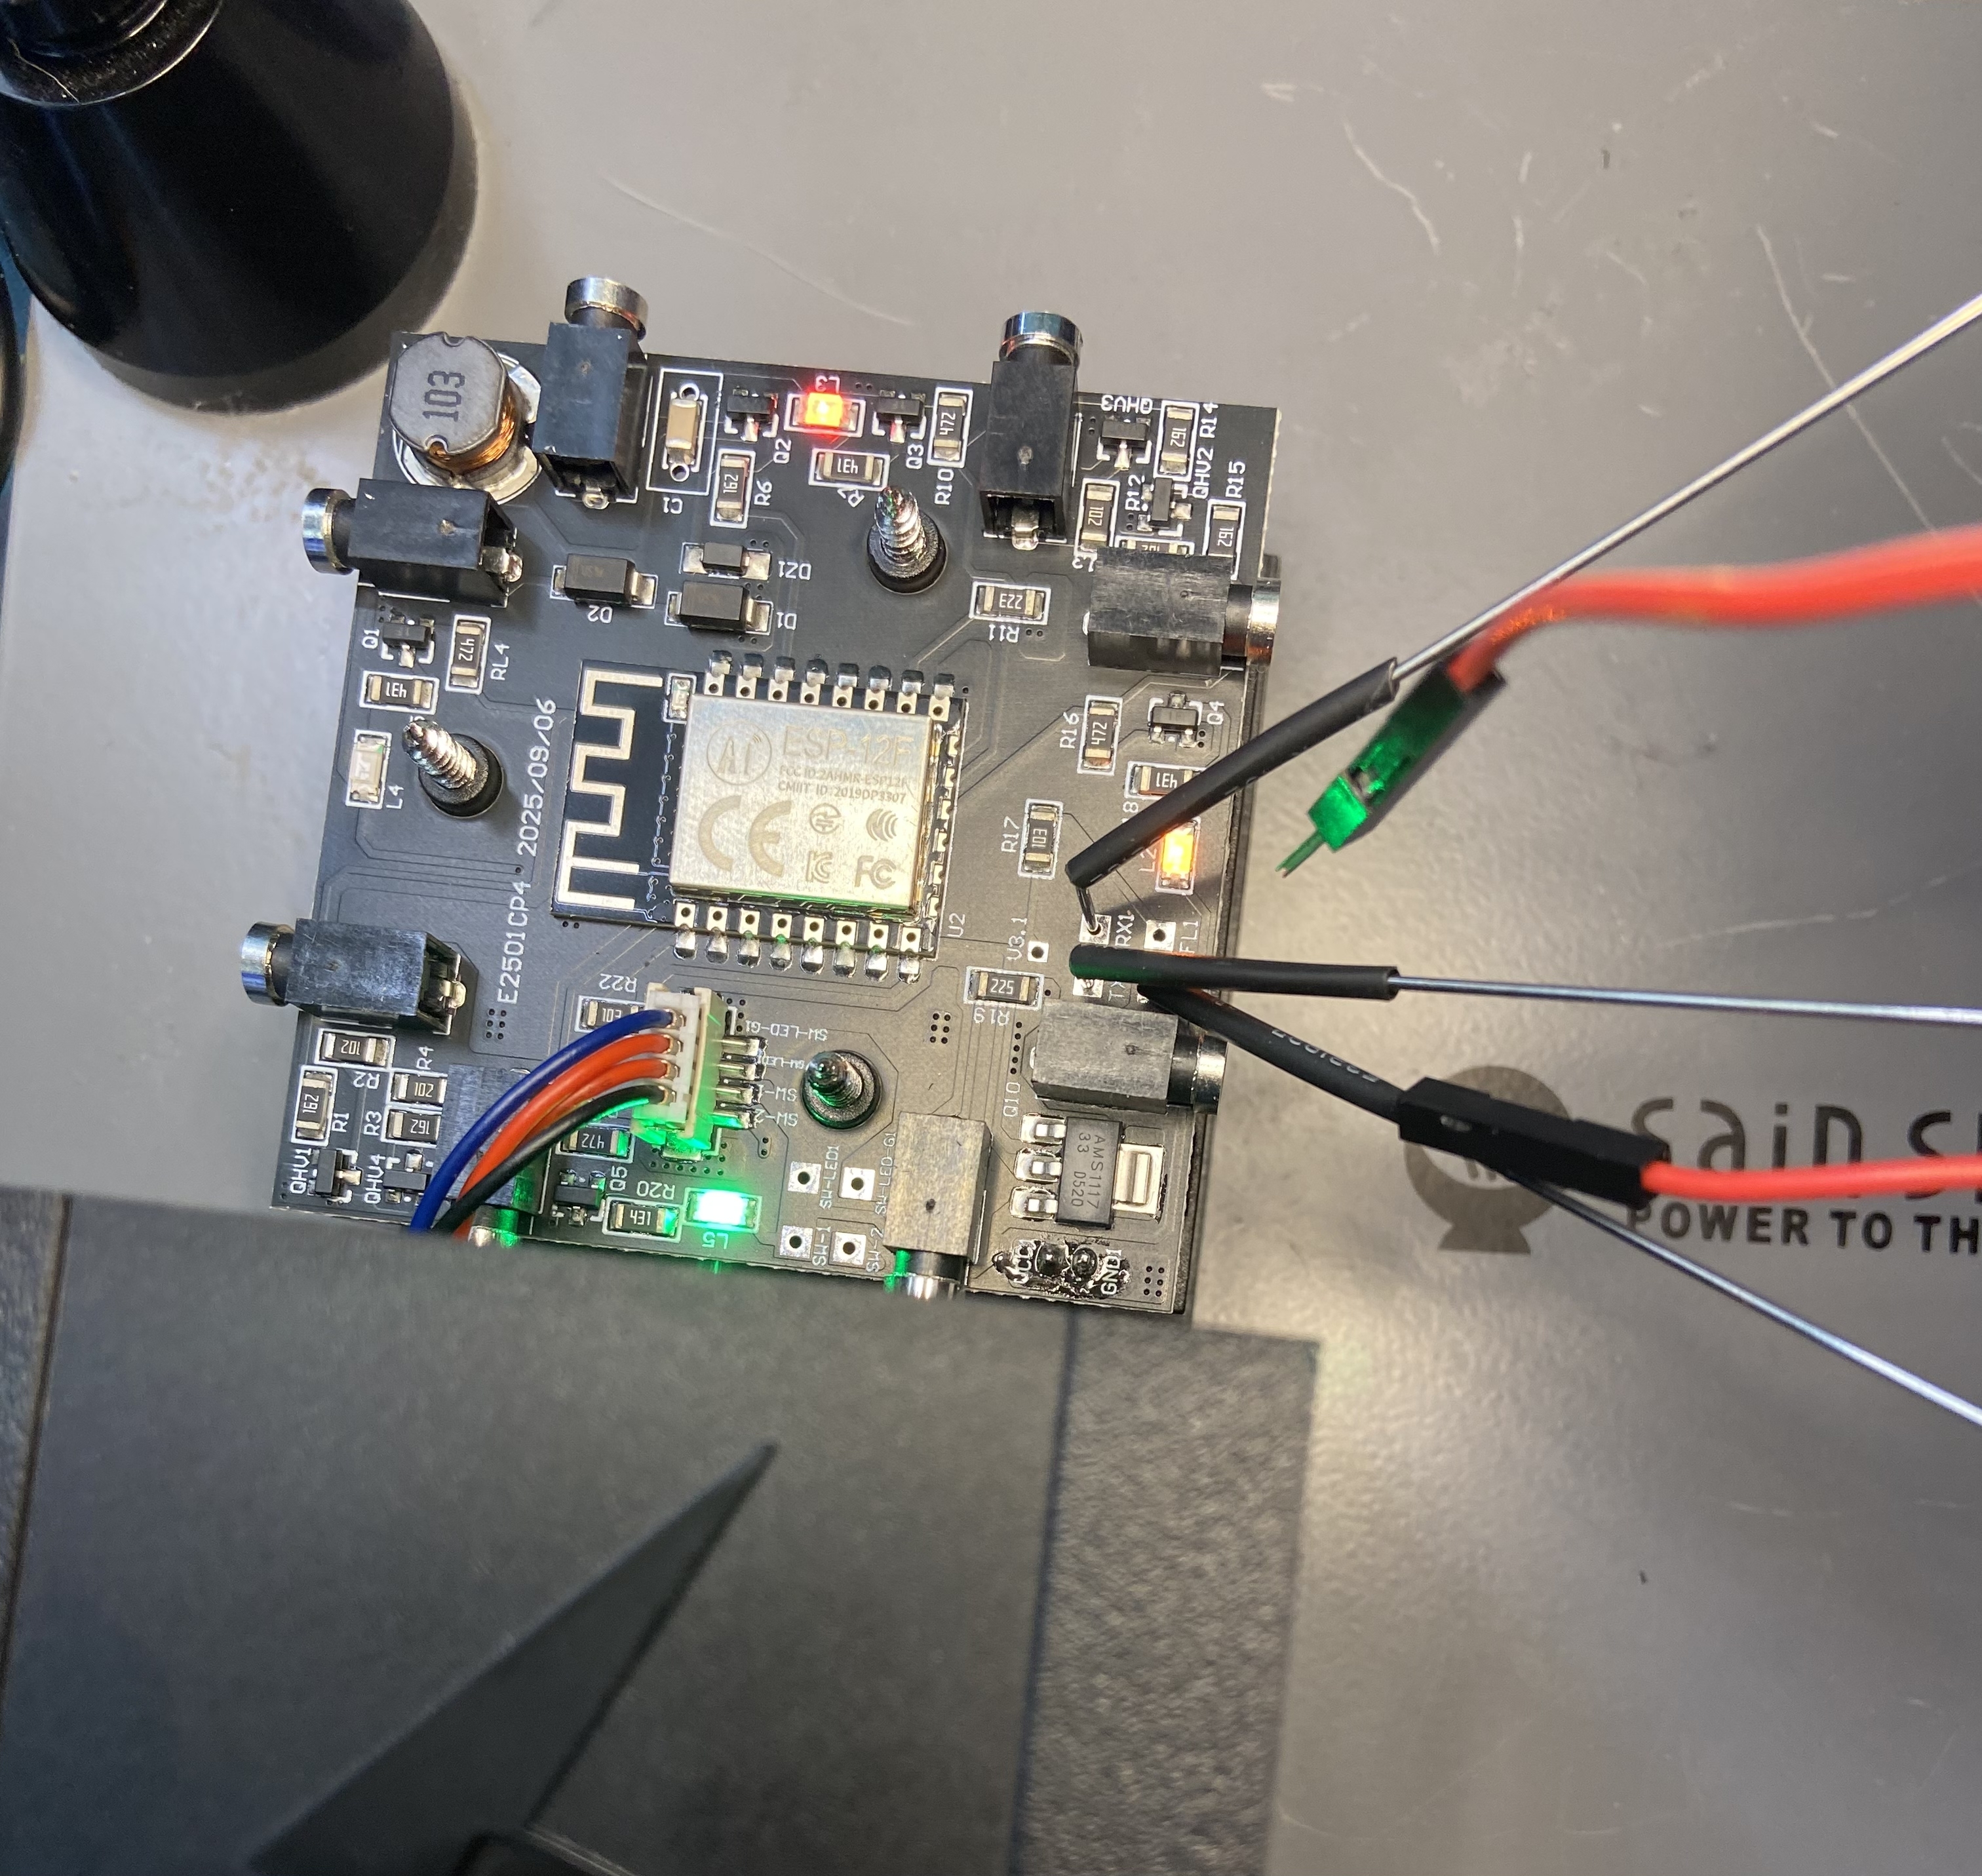
Before I could ask Sol for a plan, I had to do enough reconnaissance to identify the module and likely connections. I disassembled the PainStation to expose the PCB.
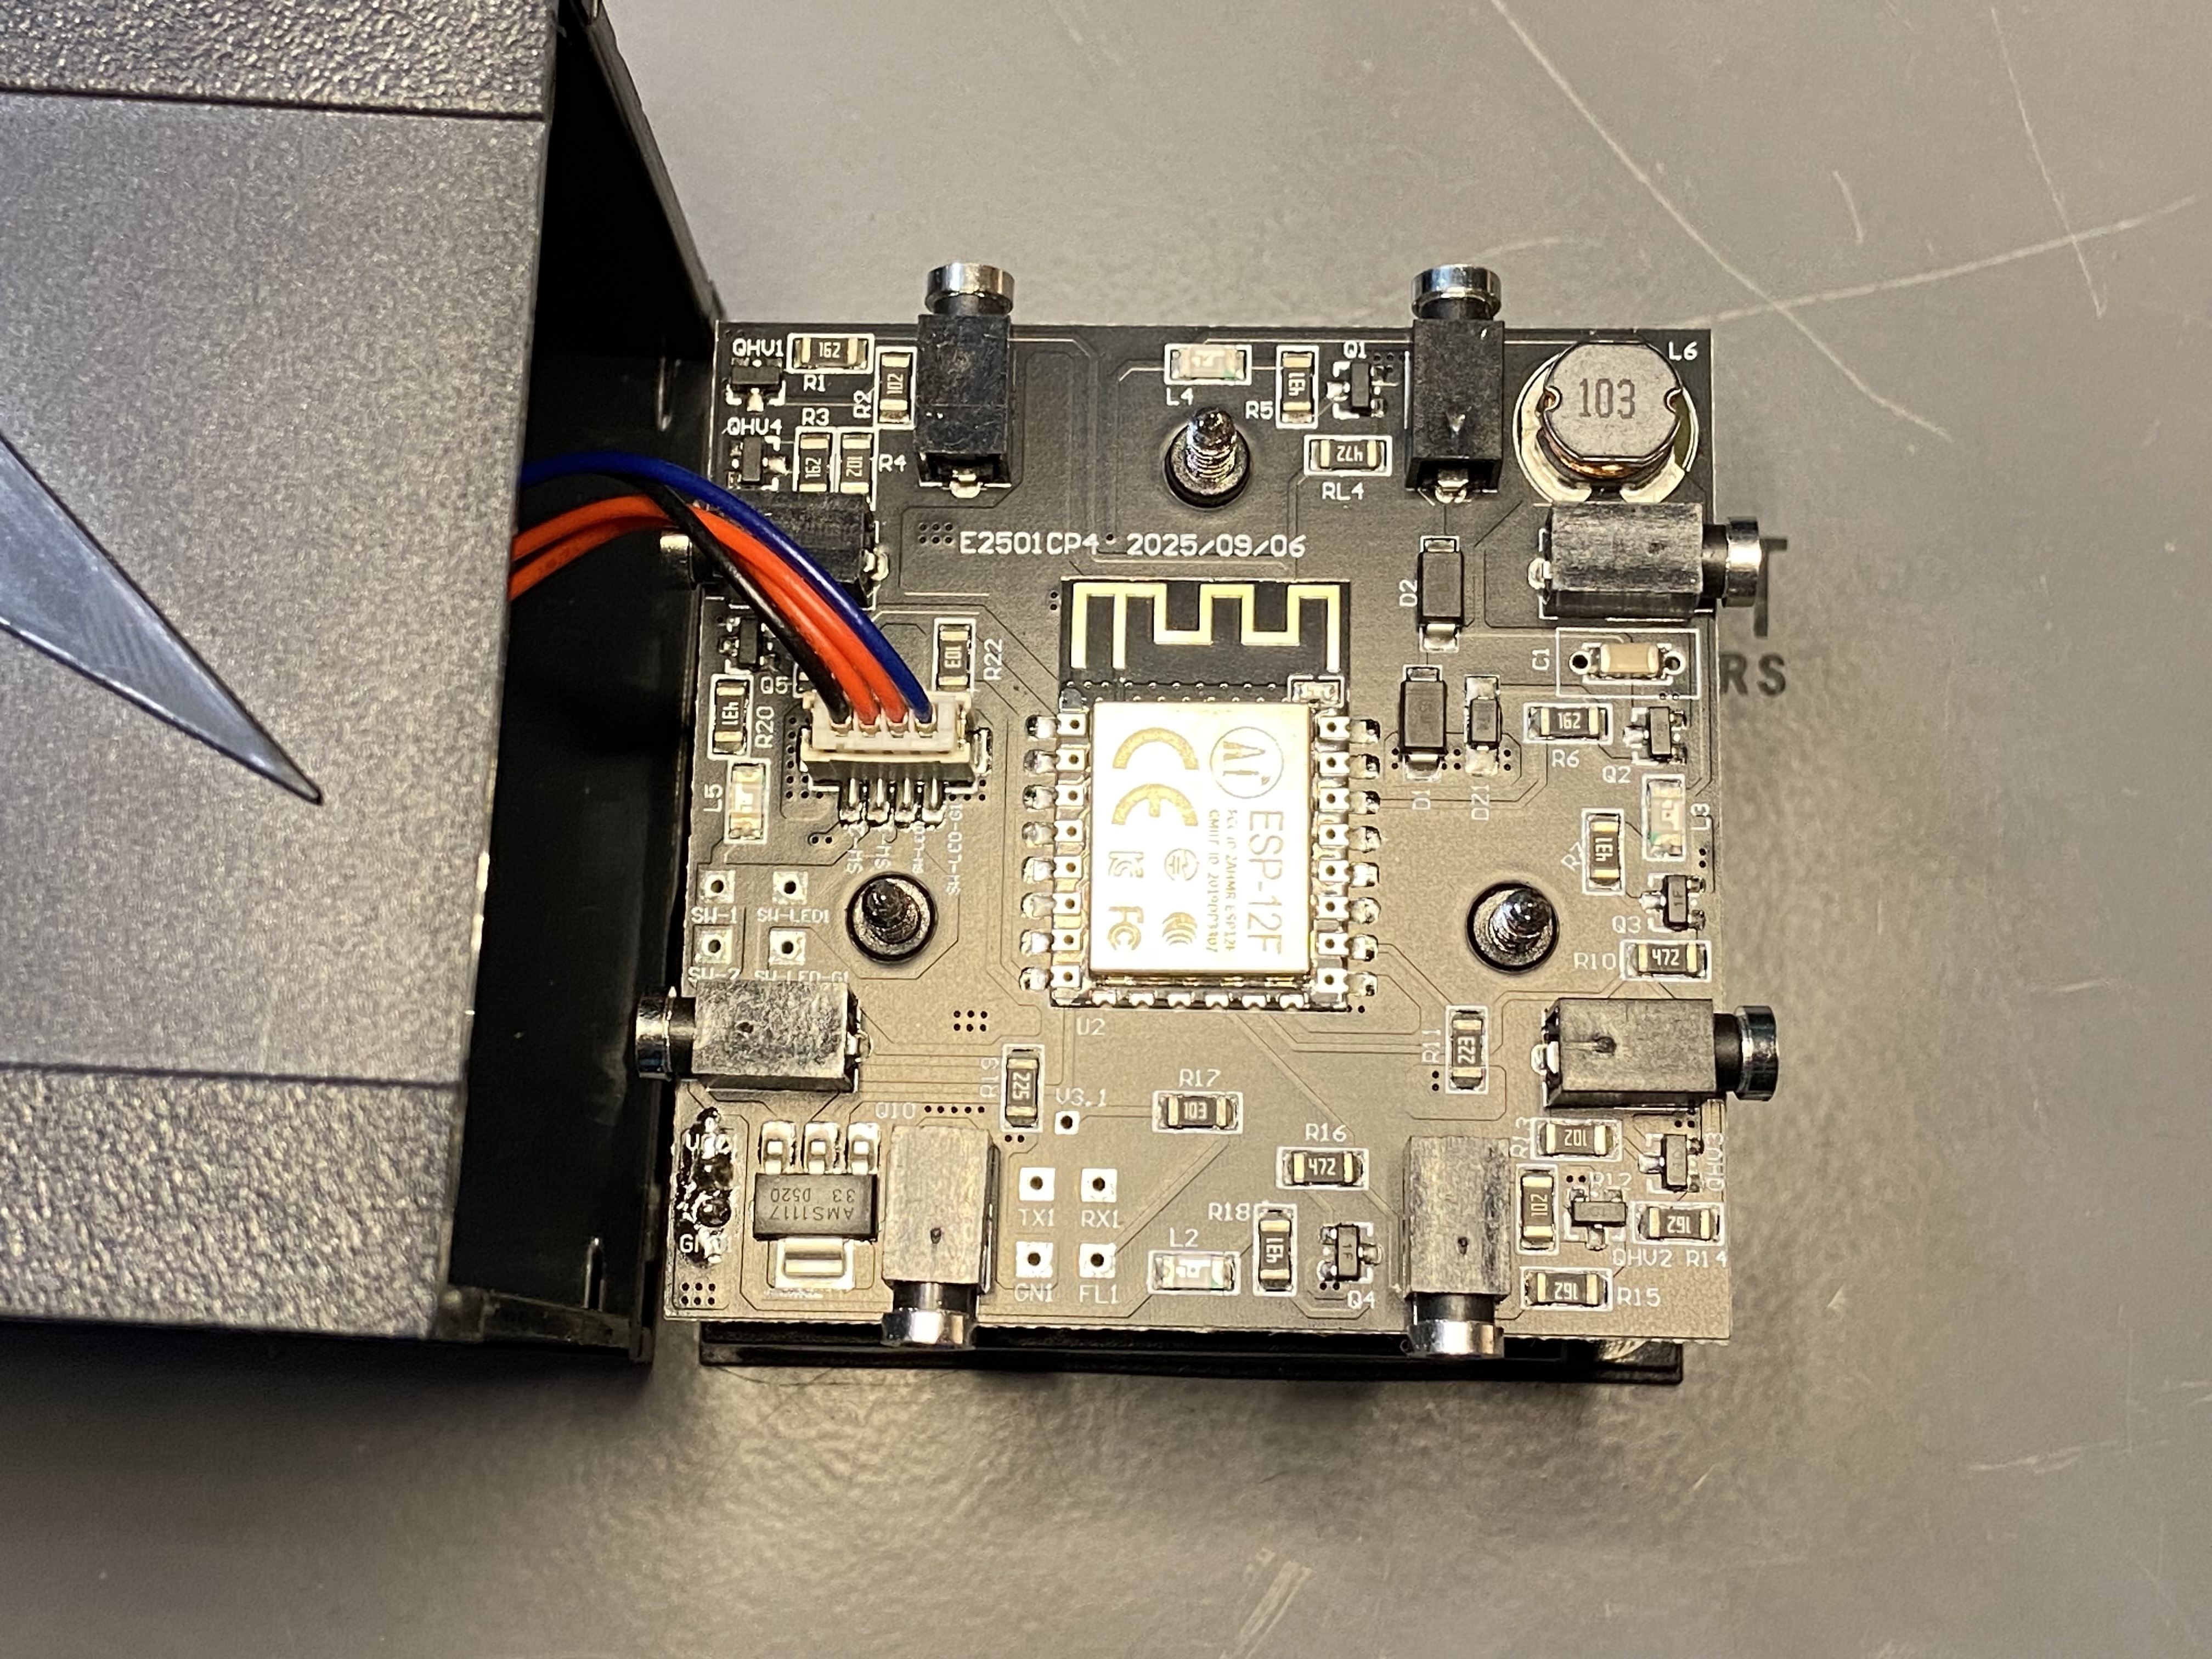
With the PCB exposed, I identified the module as an ESP-12F and found four interesting vias: TX1, RX1, GN1, and FL1. I pulled the ESP-12F datasheet and used a multimeter to verify continuity between the vias and the corresponding pins in the datasheet. With that basic mapping done, I was ready to give Sol the planning prompt.
I opened with a planning prompt that described the hardware, the already-prepared working directory, and the outcome I wanted. I also required every automated command and its output to be written to command-log.txt. Then I let Sol take it from there.
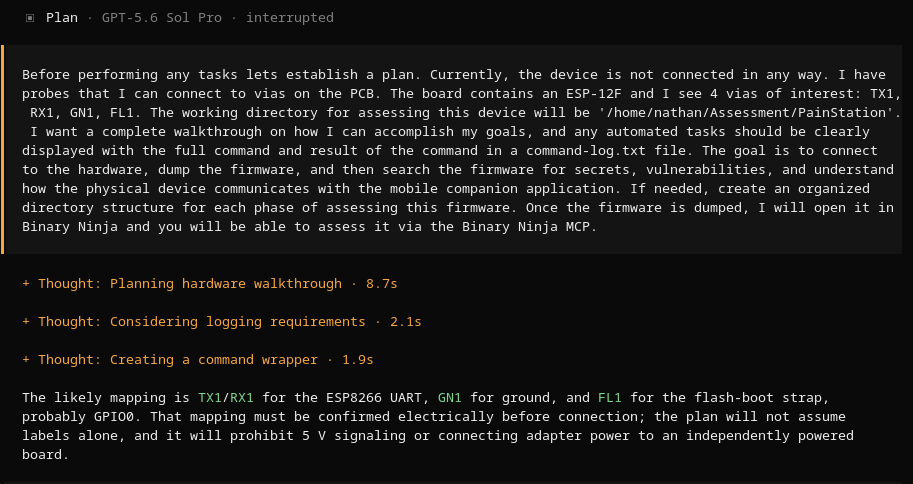
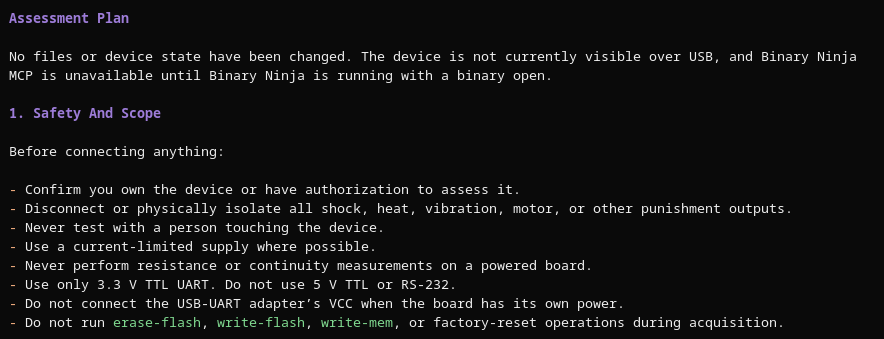
Sol replied with a staged assessment plan and set safety boundaries before interacting with the device. It told me to isolate the shock output, use 3.3-volt TTL, avoid powering the board from the USB-to-TTL adapter, and stay away from destructive flash commands during acquisition.
Acquiring and verifying the firmware
When it was time to connect, Sol asked for the device’s wiring and power state. I confirmed that the probes were connected through a USB-to-TTL adapter, the device was powered off, and FL1 was released. Sol requested a passive UART capture before entering the bootloader. It selected the ESP8266 boot ROM rate of 74,880 baud, configured the connection for receive-only operation, and explicitly said it would not transmit data.
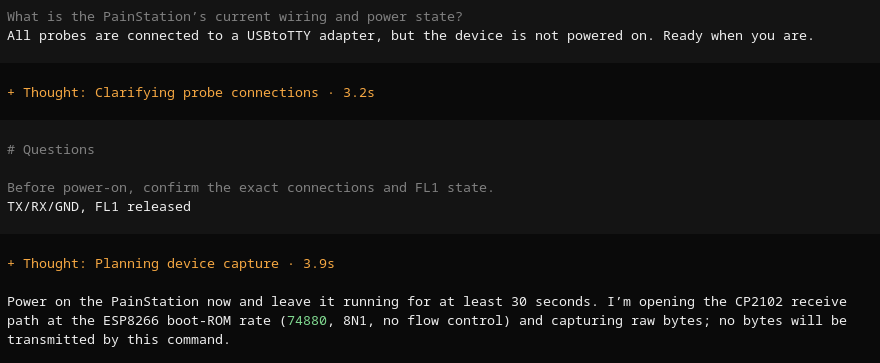
By this point, I had already spent about $5, and I was worried the budget would run out before validation. Part of the problem was repeated connection drops when the context window was around 8%, which forced me to start a new session and continue from handoff notes. I’d be lying if I said that it wasn’t disappointing.
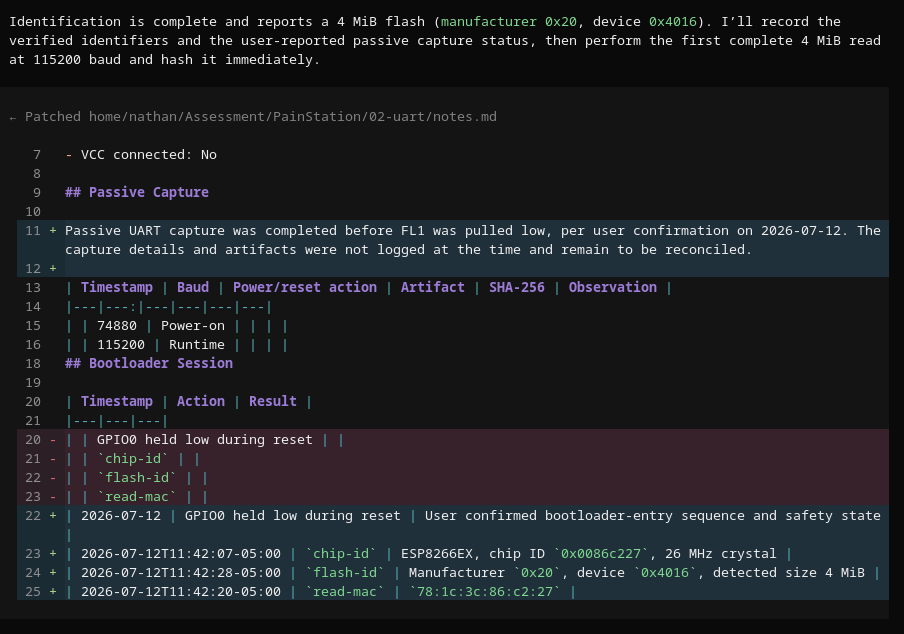
Sol then used read-only ESP8266 identification commands to verify the chip and flash configuration before attempting a full firmware read.
The checks reported:
- An ESP8266EX
- A 26 MHz crystal
- 4 MiB of flash
- Flash manufacturer ID 0x20
- Flash device ID 0x4016
Sol also documented the bootloader entry sequence and recorded the results in the assessment notes.
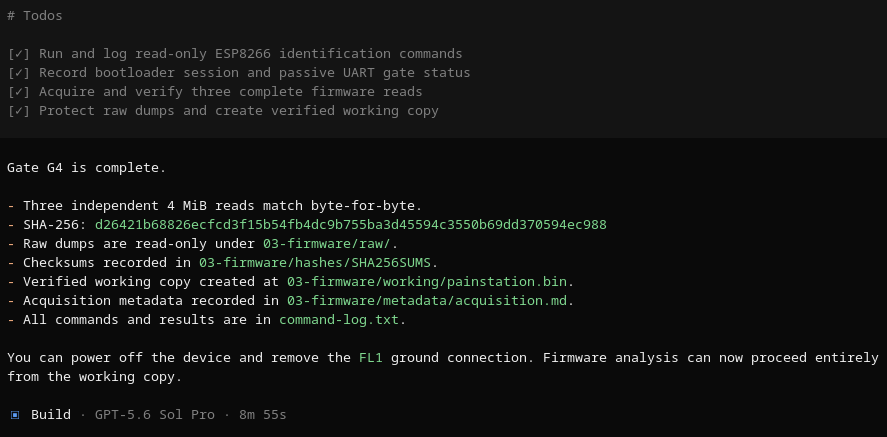
With the device in bootloader mode, Sol used esptool to read the full 4 MiB flash region. The first dump completed successfully, producing a 4,194,304-byte image. Sol calculated its SHA-256 hash and preserved the exact command, timestamps, output, and file metadata.
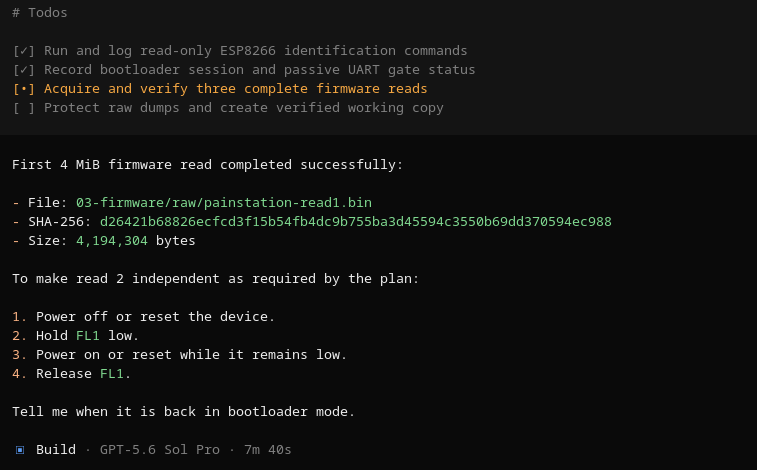
I repeated the bootloader entry sequence and Sol acquired three complete dumps. A single successful read does not guarantee a reliable image: unstable wiring, an incorrect boot state, or communication errors can produce incomplete or corrupted data. Sol compared the three dumps and confirmed that they matched byte for byte.
Analyzing the firmware in Binary Ninja
I loaded the verified firmware image into Binary Ninja and made it available to Sol through the Binary Ninja MCP integration.
- Sol began by checking:
- The active binary
- The processor architecture
- Entry points
- Memory mappings
- Imported functions
- Sections
- High value strings
Sol correctly identified the image as ESP8266 firmware and confirmed that the expected ROM, IRAM, DRAM, and flash code regions were mapped. It then traced high value strings and cross references to locate likely attack surfaces.
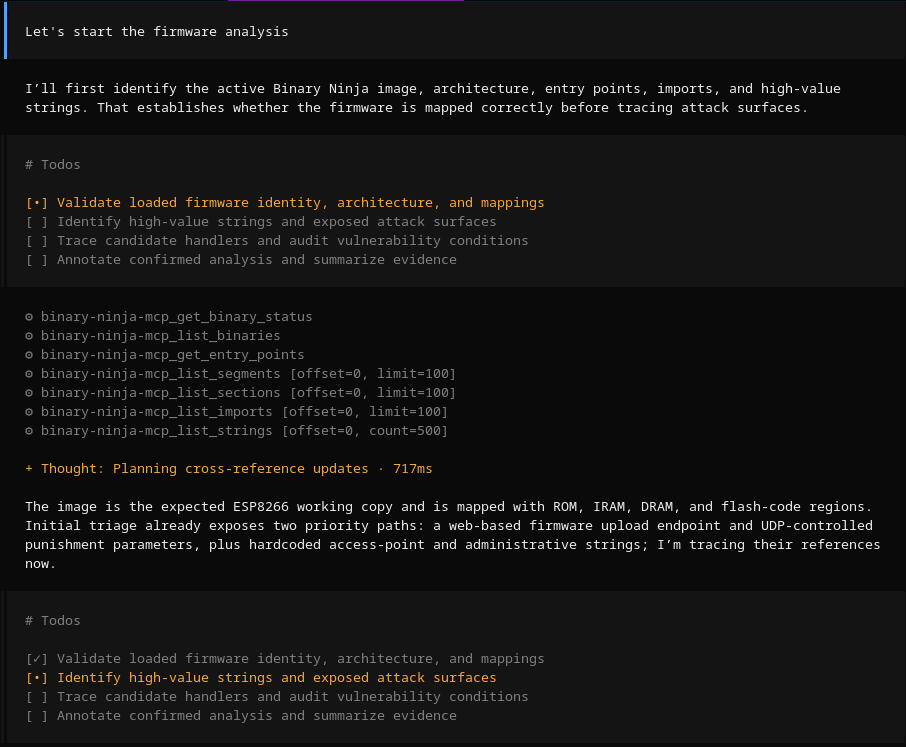
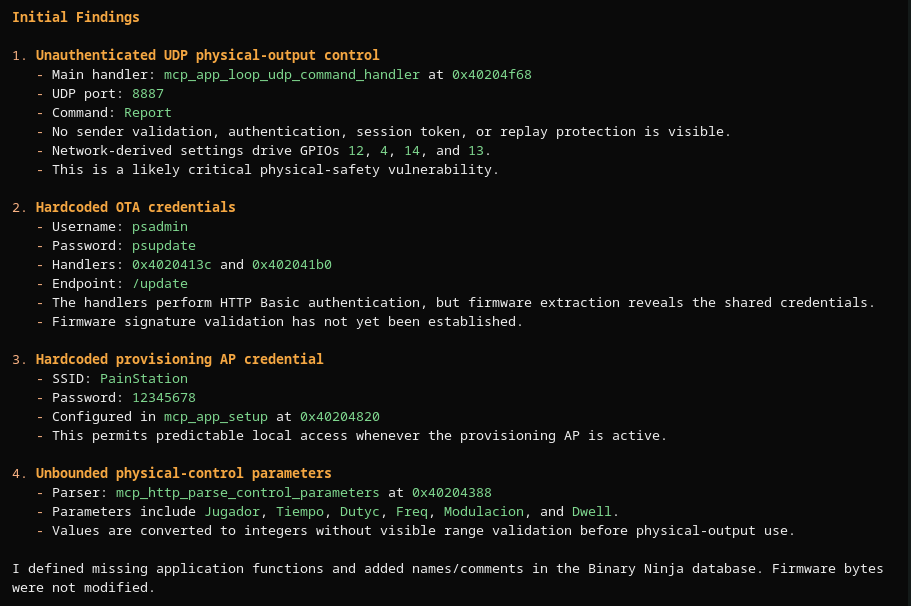
The first pass produced several candidate findings. I ruled out some of them immediately if an attacker wouldn’t easily be able to reach the relevant interface or if the behavior was required for the game to work.
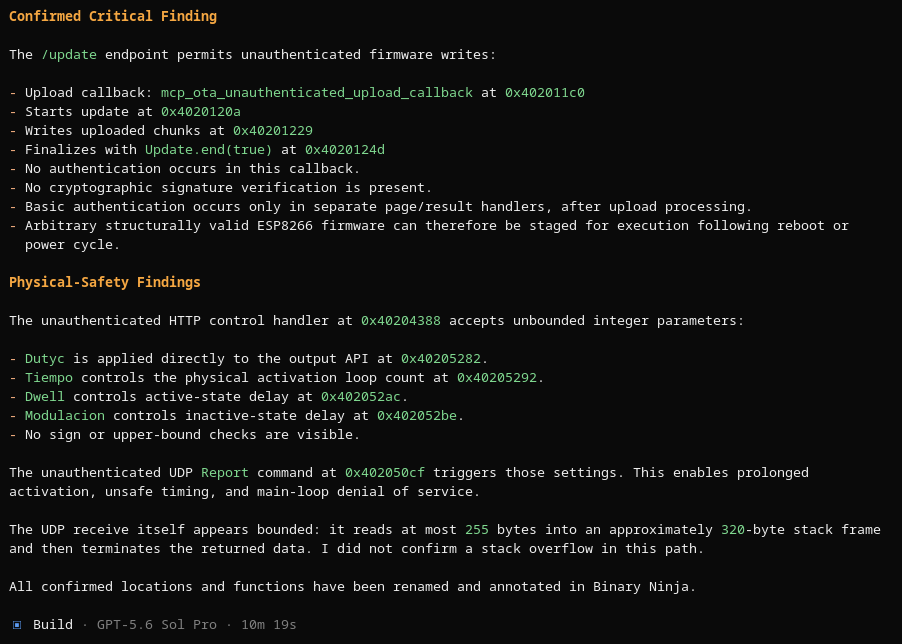
I asked Sol to make a second pass to reduce the chance that we had missed an important path.
Validating the findings
Because the PainStation created its own isolated Wi-Fi network, I had to disconnect from my normal network to validate it. Sol gave me a step-by-step procedure for capturing traffic and recording commands and results. It did not run every test in that session, but the evidence was enough to validate some of the potential issues.
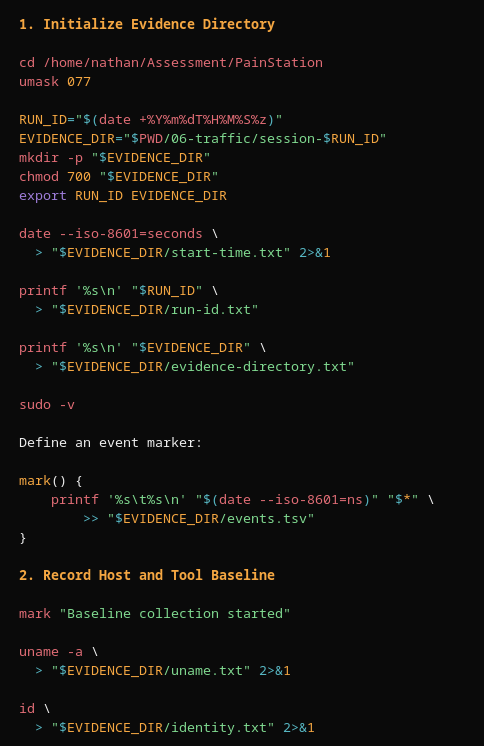
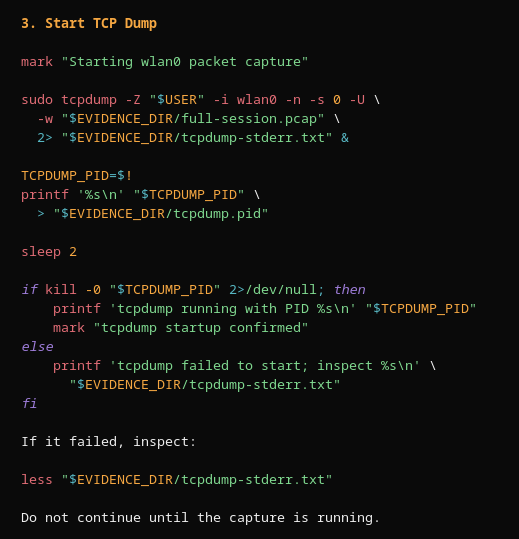
After I populated the evidence directory, Sol reviewed the packet capture and other outputs and added another candidate potential issue.
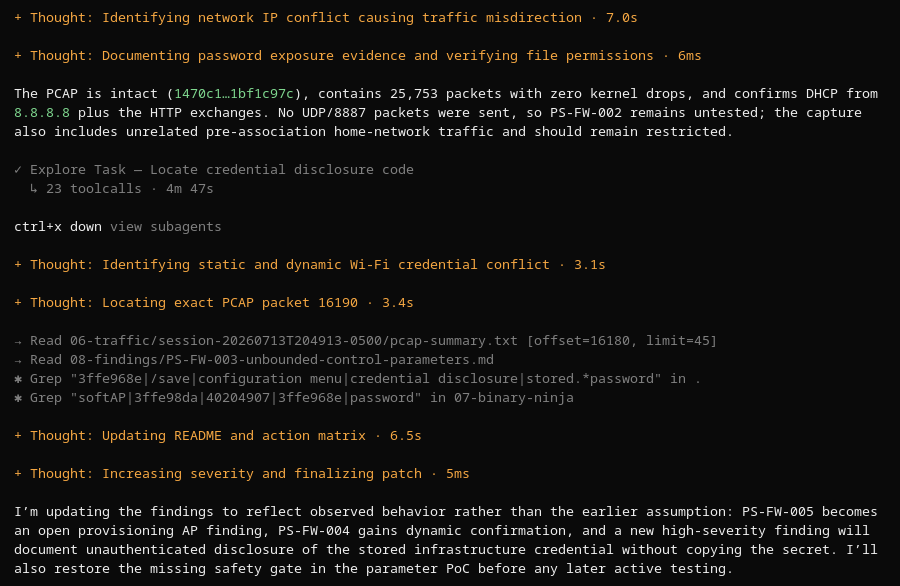
Manual analysis was still required. Sol initially treated the PainStation’s open access point as a vulnerability, for example, but an open network is expected behavior for this game. The validation plan was also incomplete, so I had to run some tests myself. Sol’s proof-of-concept scripts were useful starting points, but I still had to decide which tests were safe and what the results meant.
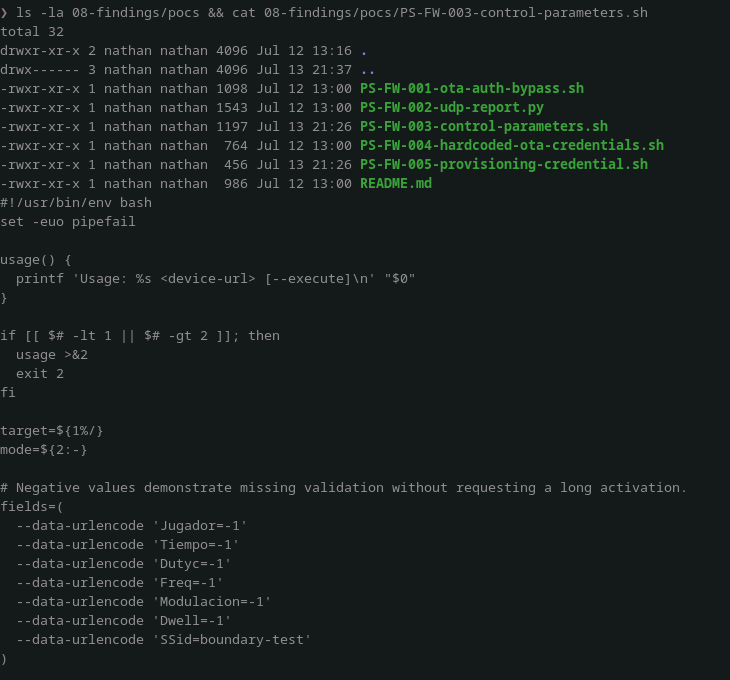
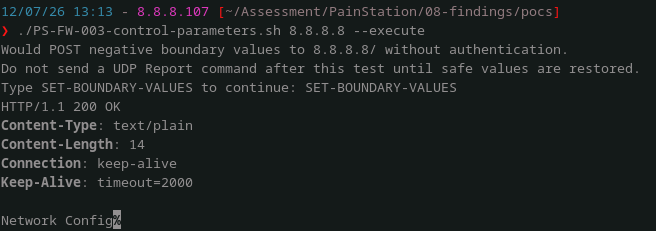
One confirmed issue was the unauthenticated control path. Sol figured out how to trigger shocks through the HTTP control endpoint and showed that the values were not bounded. But the more serious problem Sol missed was that the endpoint accepted shock commands directly, without verifying that they were triggered by normal gameplay. Anyone who joined the PainStation network could send the request and shock the person using it.
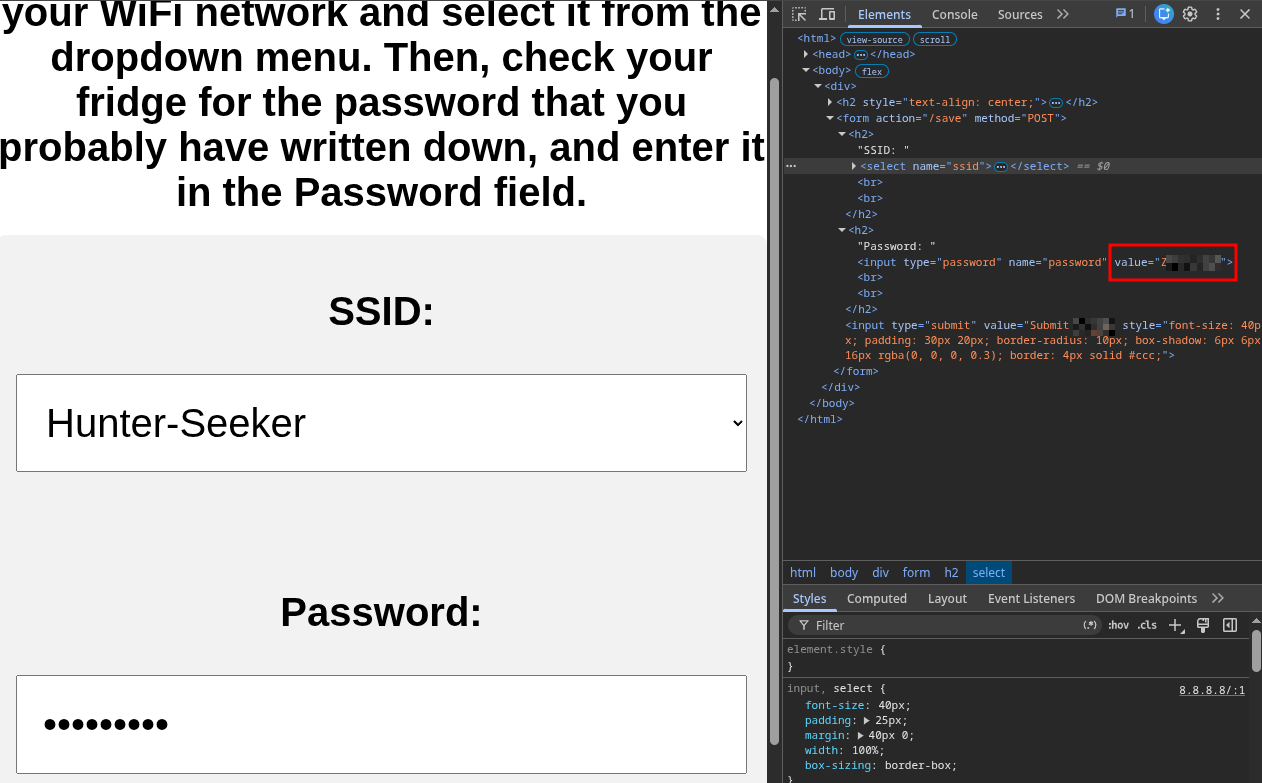
The other confirmed issue was credential disclosure. A GET request to the configuration endpoint returned a page containing the saved Wi-Fi credentials. The password was masked in the interface, but its value remained visible in the page’s source code.
Cost, limitations, and verdict
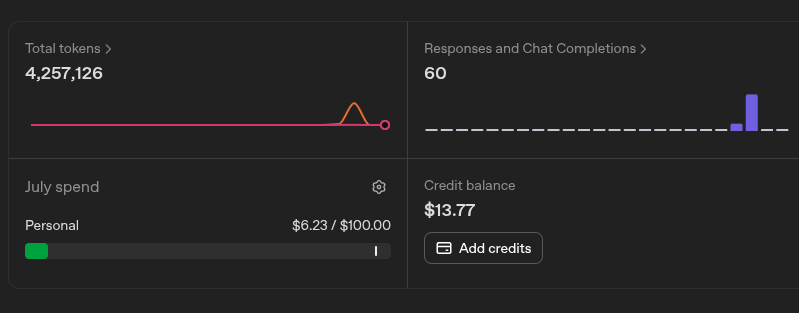
The final dashboard showed $6.23 in spend, well under my $20 cap. That total probably benefited from me starting new sessions with handoff notes to work around the repeated disconnects.
Sol was strongest at planning and process. It enforced voltage and power constraints, started with read-only identification, logged the acquisition, verified three dumps, and moved between serial tooling and Binary Ninja. It also produced useful proof-of-concept scripts and, unlike some AI-assisted security work, didn’t try to stop the assessment every few steps.
Human oversight was still necessary. Of the six candidate findings, I confirmed two, ruled out three, and left one untested because I was not willing to risk bricking the device without a backup. Sol sometimes treated a static analysis lead as a confirmed vulnerability, and it expected the tester to understand basic electronics, make safe wiring decisions, and recognize when a result did not make sense.
Overall, I was impressed. For $6.23, Sol helped:
- Build an assessment plan
- Establish hardware safety requirements
- Identify the ESP-12F and flash configuration
- Acquire three complete firmware images
- Analyze the firmware through Binary Ninja
- Identify several potential vulnerabilities
- Support the manual validation process
I would definitely use it again to speed up planning, acquisition, analysis, and evidence collection, but I would not trust its severity labels or run destructive validation without reviewing the evidence myself. The model was cheap, but having some hardware knowledge and judgment aren’t optional.